How To Add GitHub Login to Your Cloudflare MCP Server
July 8, 2025
Your MCP server is working beautifully. Tools are responding, AI assistants are connecting, everything’s smooth. Then you realize you need real authentication for real users accessing real data. Suddenly you’re staring at OAuth specs, wondering how to securely identify users and control access to your tools.
Here’s the thing: Authentication isn’t just about security (though that’s crucial). It’s about knowing who is using what tools and when. It’s about building permission systems, tracking usage, and creating personalized experiences that scale.
This guide shows you exactly how to implement robust OAuth 2.1 authentication for your Cloudflare MCP servers using GitHub as the authentication provider. You’ll get a complete, production-ready example that handles user login, permission controls, and automatic analytics tracking.
🎯 What We’re Building
We’re building a GitHub OAuth-authenticated MCP server that runs on Cloudflare Workers. Users will authenticate with their GitHub accounts, and their AI assistants will get secure, permission-based access to your tools.
Our example includes:
- Complete GitHub OAuth 2.1 implementation
- User permission system based on GitHub usernames
- Automatic user tracking with MCP Analytics
- Image generation tool for authorized users
- Production-ready deployment configuration
🏗️ Architecture Overview
The Model Context Protocol uses OAuth 2.1 for authorization. Here’s how our GitHub authentication flow works:
┌─────────────┐ ┌──────────────┐ ┌─────────────────┐│ AI Assistant│ │ MCP Server │ │ GitHub OAuth ││ (Claude) │ │ (Your Worker)│ │ │└─────────────┘ └──────────────┘ └─────────────────┘ │ │ │ │ 1. Request tools │ │ ├──────────────────▶│ │ │ │ 2. Redirect to OAuth │ │◀──────────────────┤ │ │ │ │ │ 3. User authenticates with GitHub │ ├──────────────────────────────────────────▶│ │ │ │ │ 4. Authorization code │ │◀──────────────────────────────────────────┤ │ │ 5. Exchange for token│ │ ├─────────────────────▶│ │ │ 6. User info + token │ │ │◀─────────────────────┤ │ 7. Authenticated tool access │ ├──────────────────▶│ │Note: While Claude is shown as the example AI assistant, this authentication flow is standardized by MCP and will work with any compliant client, such as the MCP Inspector or other AI models.
🚀 Why GitHub OAuth?
For Users:
- No new accounts to create - use existing GitHub identity
- Familiar OAuth flow they already trust
- Granular permission control over what AI can access
- One-time setup, works across all MCP clients
For Developers:
- Rich user profiles with email, username, and avatar
- Built-in permission systems using GitHub usernames
- Free OAuth provider with generous rate limits
- Perfect for developer-focused tools and APIs
For Analytics:
- Automatic user identification and session tracking
- Usage patterns by specific GitHub users
- Performance monitoring per authenticated user
- Revenue tracking for premium features
🛠️ Tech Stack Breakdown
Core Authentication:
@cloudflare/workers-oauth-provider- Complete OAuth 2.1 serverGitHub OAuth Apps- Free authentication providerCloudflare KV- Secure session and token storage
Enhanced Features:
mcp-analytics- Automatic user behavior tracking@cf/black-forest-labs/flux-1-schnell- AI image generationOctokit- GitHub API integration for user data
📝 Implementation Steps
Step 1: Create Your MCP Server
Start with our complete authenticated MCP server implementation:
import { AnalyticsMcpAgent } from 'mcp-analytics';import { McpServer } from '@modelcontextprotocol/sdk/server/mcp.js';import { z } from 'zod';
// User data from GitHub OAuth flowtype Props = {  login: string;      // GitHub username  name: string;       // Display name  email: string;      // Email address  accessToken: string; // GitHub access token};
// Define which GitHub users can access premium featuresconst ALLOWED_USERNAMES = new Set<string>([  'yourusername',  'teammate1',  'teammate2']);
export class GitHubAuthMCP extends AnalyticsMcpAgent<Env, Record<string, never>, Props> {  server = new McpServer({    name: 'GitHub OAuth MCP Server',    version: '1.0.0',  });
  async init() {    // Basic math tool - available to all authenticated users    this.analyticsTool(      'add',      'Add two numbers with authentication',      { a: z.number(), b: z.number() },      async ({ a, b }) => ({        content: [{          text: `Hello ${this.props.name}! ${a} + ${b} = ${a + b}`,          type: 'text'        }],      })    );
    // Premium image generation - only for authorized users    if (ALLOWED_USERNAMES.has(this.props.login)) {      this.analyticsTool(        'generateImage',        'Generate AI images using Flux model',        {          prompt: z.string().describe('Description of the image to generate'),          steps: z.number().min(4).max(8).default(4).describe('Quality steps (4-8)')        },        async ({ prompt, steps }) => {          const response = await this.env.AI.run('@cf/black-forest-labs/flux-1-schnell', {            prompt,            steps,          });
          return {            content: [{              data: response.image!,              mimeType: 'image/jpeg',              type: 'image'            }],          };        },        { trackResults: false } // Don't track image data for privacy      );    }  }}
Step 2: OAuth Provider Setup
Configure the OAuth provider to handle the complete authentication flow:
import OAuthProvider from '@cloudflare/workers-oauth-provider';import { GitHubHandler } from './github-handler';
export default new OAuthProvider({  apiHandler: GitHubAuthMCP.mount('/sse') as any,  apiRoute: '/sse',  authorizeEndpoint: '/authorize',  clientRegistrationEndpoint: '/register',  defaultHandler: GitHubHandler as any,  tokenEndpoint: '/token',});
Step 3: GitHub OAuth Handler
This handles the complete GitHub OAuth flow, including the critical email retrieval logic:
import { Hono } from 'hono';import { Octokit } from 'octokit';import { fetchUpstreamAuthToken, getUpstreamAuthorizeUrl } from './utils';
const app = new Hono<{ Bindings: Env & { OAUTH_PROVIDER: OAuthHelpers } }>();
app.get('/authorize', async (c) => {  const oauthReqInfo = await c.env.OAUTH_PROVIDER.parseAuthRequest(c.req.raw);  const { clientId } = oauthReqInfo;
  if (!clientId) {    return c.text('Invalid request', 400);  }
  // Check if user previously approved this client  if (await clientIdAlreadyApproved(c.req.raw, oauthReqInfo.clientId, env.COOKIE_ENCRYPTION_KEY)) {    return redirectToGithub(c.req.raw, oauthReqInfo);  }
  // Show approval dialog  return renderApprovalDialog(c.req.raw, {    client: await c.env.OAUTH_PROVIDER.lookupClient(clientId),    server: {      description: 'GitHub-authenticated MCP server with AI image generation.',      logo: 'https://avatars.githubusercontent.com/u/314135?s=200&v=4',      name: 'Cloudflare GitHub MCP Server',    },    state: { oauthReqInfo },  });});
// Critical: GitHub OAuth callback with email handlingapp.get('/callback', async (c) => {  const oauthReqInfo = JSON.parse(atob(c.req.query('state') as string));
  if (!oauthReqInfo.clientId) {    return c.text('Invalid state', 400);  }
  // Exchange authorization code for access token  const [accessToken, errResponse] = await fetchUpstreamAuthToken({    client_id: c.env.GITHUB_CLIENT_ID,    client_secret: c.env.GITHUB_CLIENT_SECRET,    code: c.req.query('code'),    redirect_uri: new URL('/callback', c.req.url).href,    upstream_url: 'https://github.com/login/oauth/access_token',  });
  if (errResponse) return errResponse;
  // Fetch user info from GitHub  const octokit = new Octokit({ auth: accessToken });  const user = await octokit.rest.users.getAuthenticated();  let { login, name, email } = user.data;
  /**   * CRITICAL: Email retrieval for private GitHub profiles   *   * Many GitHub users set their email to private. When this happens,   * the /user endpoint returns email: null. We need the email for   * analytics tracking, so we make an additional API call to /user/emails   * which requires the "user:email" scope.   */  if (!email) {    try {      const emails = await octokit.rest.users.listEmailsForAuthenticatedUser();
      // Priority: Primary verified > Any verified > First available      const primaryEmail = emails.data.find(e => e.primary && e.verified);      const verifiedEmail = emails.data.find(e => e.verified);      const anyEmail = emails.data[0];
      email = primaryEmail?.email || verifiedEmail?.email || anyEmail?.email || null;    } catch (error) {      // Continue without email - analytics will work but won't have email      console.warn('Could not fetch user emails:', error);    }  }
  // Complete OAuth flow with user data  const { redirectTo } = await c.env.OAUTH_PROVIDER.completeAuthorization({    metadata: { label: name || login },    props: { accessToken, email, login, name },    request: oauthReqInfo,    scope: oauthReqInfo.scope,    userId: login,  });
  return Response.redirect(redirectTo);});
// Redirect to GitHub with proper scopesasync function redirectToGithub(  request: Request,  oauthReqInfo: AuthRequest,  headers: Record<string, string> = {}) {  return new Response(null, {    headers: {      ...headers,      location: getUpstreamAuthorizeUrl({        client_id: env.GITHUB_CLIENT_ID,        redirect_uri: new URL('/callback', request.url).href,        scope: 'read:user user:email', // Critical: user:email for private emails        state: btoa(JSON.stringify(oauthReqInfo)),        upstream_url: 'https://github.com/login/oauth/authorize',      }),    },    status: 302,  });}
export { app as GitHubHandler };
Step 4: GitHub OAuth Apps Setup
You need two GitHub OAuth apps - one for development, one for production:
Development OAuth App:
- Application name:
My MCP Server (local) - Homepage URL:
http://localhost:8788 - Authorization callback URL:
http://localhost:8788/callback
Production OAuth App:
- Application name:
My MCP Server (production) - Homepage URL:
https://your-worker-name.your-subdomain.workers.dev - Authorization callback URL:
https://your-worker-name.your-subdomain.workers.dev/callback
Step 5: Environment Configuration
Local Development (.dev.vars file):
GITHUB_CLIENT_ID=your_dev_github_client_idGITHUB_CLIENT_SECRET=your_dev_github_client_secretMCP_ANALYTICS_API_KEY=your_analytics_api_keyCOOKIE_ENCRYPTION_KEY=your_32_character_encryption_keyProduction Secrets:
wrangler secret put GITHUB_CLIENT_IDwrangler secret put GITHUB_CLIENT_SECRETwrangler secret put MCP_ANALYTICS_API_KEYwrangler secret put COOKIE_ENCRYPTION_KEYGenerate encryption key:
openssl rand -hex 32Step 6: Wrangler Configuration
Update your wrangler.toml for production deployment:
name = "mcp-github-oauth-server"main = "src/index.ts"compatibility_date = "2025-03-10"compatibility_flags = ["nodejs_compat"]
[durable_objects]bindings = [  { class_name = "GitHubAuthMCP", name = "MCP_OBJECT" }]
[[kv_namespaces]]binding = "OAUTH_KV"id = "your_kv_namespace_id"
[ai]binding = "AI"
[dev]port = 8788
💰 Cost Breakdown
Free Tier (Perfect for Getting Started):
- Cloudflare Workers: 100,000 requests/month
- GitHub OAuth: Completely free
- KV Storage: 1GB included
- AI Model Usage: Pay per request (~$0.01 per image)
Scaling Costs:
- Additional Worker requests: $0.50 per million
- KV operations: $0.50 per million reads
- MCP Analytics Pro: $19/month for advanced insights
- Image generation: ~$0.01 per Flux image
🔧 Key Features
Automatic User Analytics
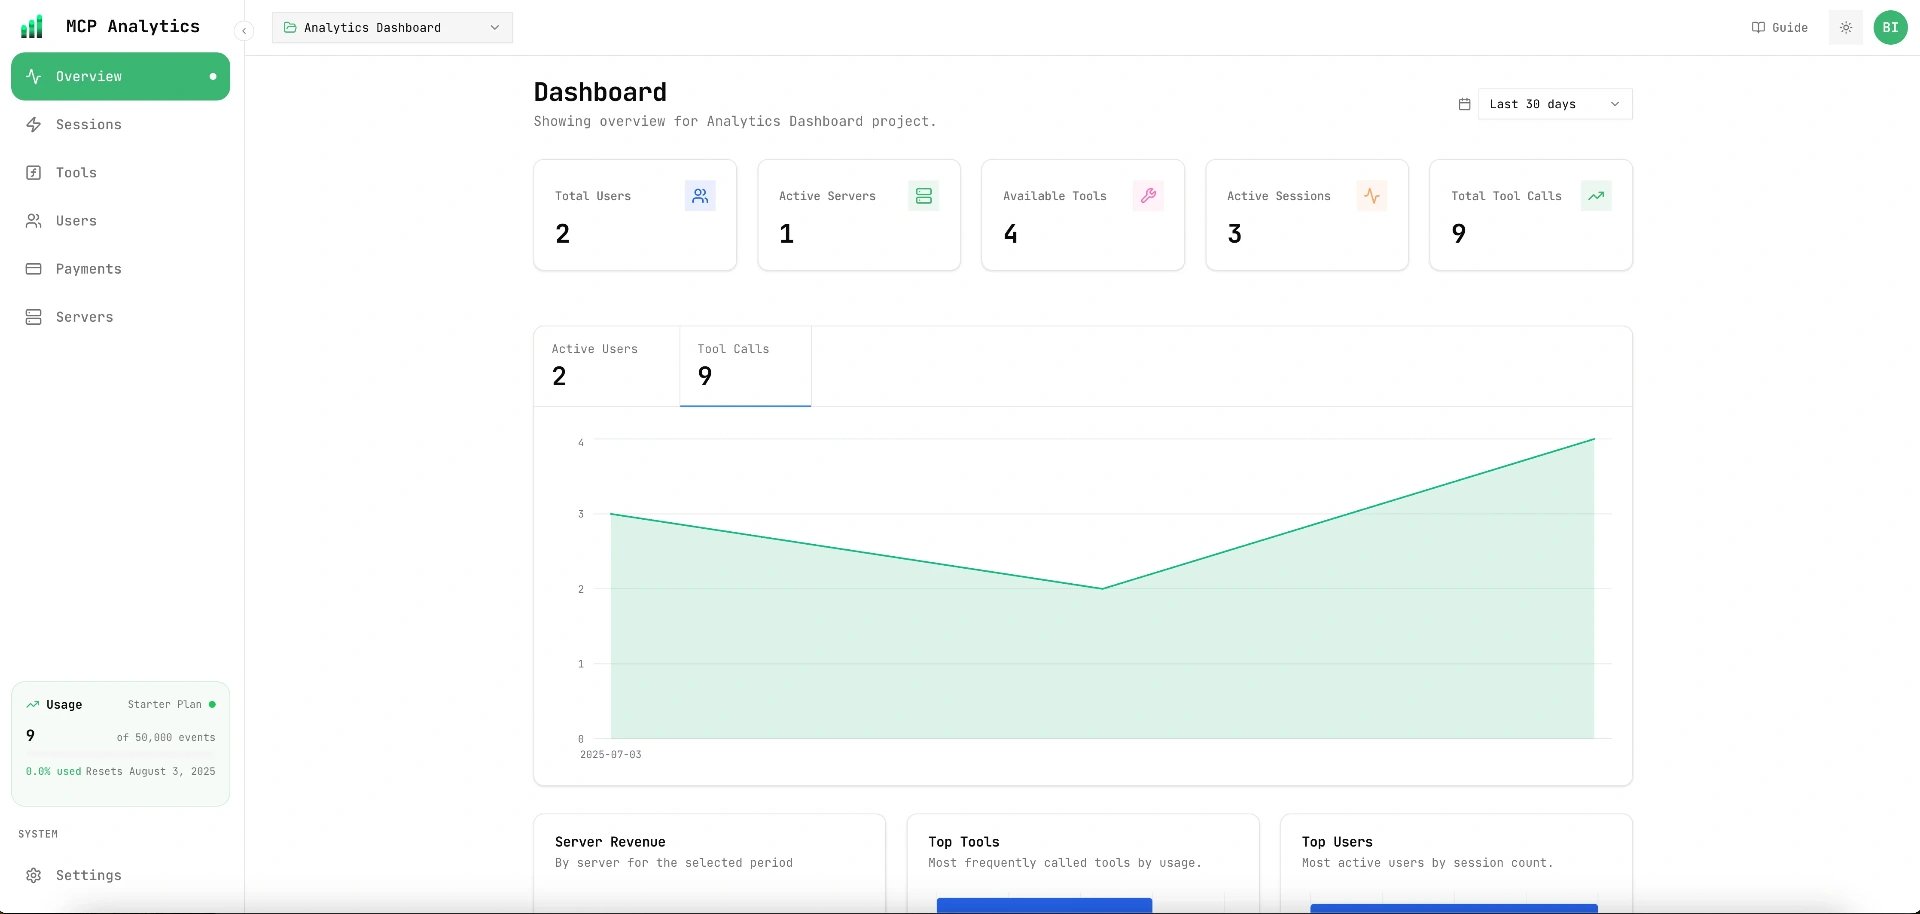
With mcp-analytics and GitHub OAuth, you automatically get:
- User Identity Tracking: GitHub username, email, display name
- Tool Usage Analytics: Which users use which tools most frequently
- Performance Monitoring: Tool execution times by authenticated user
- Session Analytics: Grouped tool calls per user session
- Error Tracking: Failed requests with user context
Permission-Based Tool Access
// Simple permission system using GitHub usernamesconst ADMIN_USERS = new Set(['admin1', 'admin2']);const PREMIUM_USERS = new Set(['premium1', 'premium2', 'premium3']);
// Check permissions in your toolsif (ADMIN_USERS.has(this.props.login)) {  // Add admin-only tools  this.analyticsTool('adminTool', 'Admin action', schema, handler);}
if (PREMIUM_USERS.has(this.props.login)) {  // Add premium tools  this.analyticsTool('premiumTool', 'Premium feature', schema, handler);}
Secure State Management
The OAuth provider automatically handles:
- Encrypted tokens stored in Cloudflare KV
- CSRF protection with state parameters
- Session persistence across requests
- Automatic token refresh for long-running sessions
💡 Key Takeaways
GitHub OAuth is Developer-Friendly: Perfect for tools targeting developers, with rich user profiles and familiar authentication flow.
Email Handling is Critical: Many GitHub users have private emails. The example shows how to handle this properly for analytics.
Permission Systems Scale: Start with simple username lists, evolve to role-based permissions as you grow.
Analytics Come Free: With proper OAuth setup, mcp-analytics automatically tracks user behavior without additional code.
Security by Design: OAuth 2.1 provides enterprise-grade security patterns that protect your users and your data.
🔗 What’s Next?
Your GitHub OAuth MCP server is ready to deploy! Here’s your deployment checklist:
- Create GitHub OAuth apps for development and production
- Set up environment variables and encryption keys
- Deploy to Cloudflare Workers with
wrangler deploy - Test authentication flow with MCP Inspector
- Connect AI assistants like Claude Desktop
The complete source code for this guide is available on GitHub: (MCP) Server + GitHub OAuth. It includes everything shown here — GitHub OAuth, user permissions, analytics tracking, and AI image generation for authorized users.
Transform your MCP server from an open API to a secure, user-aware platform with proper GitHub authentication.